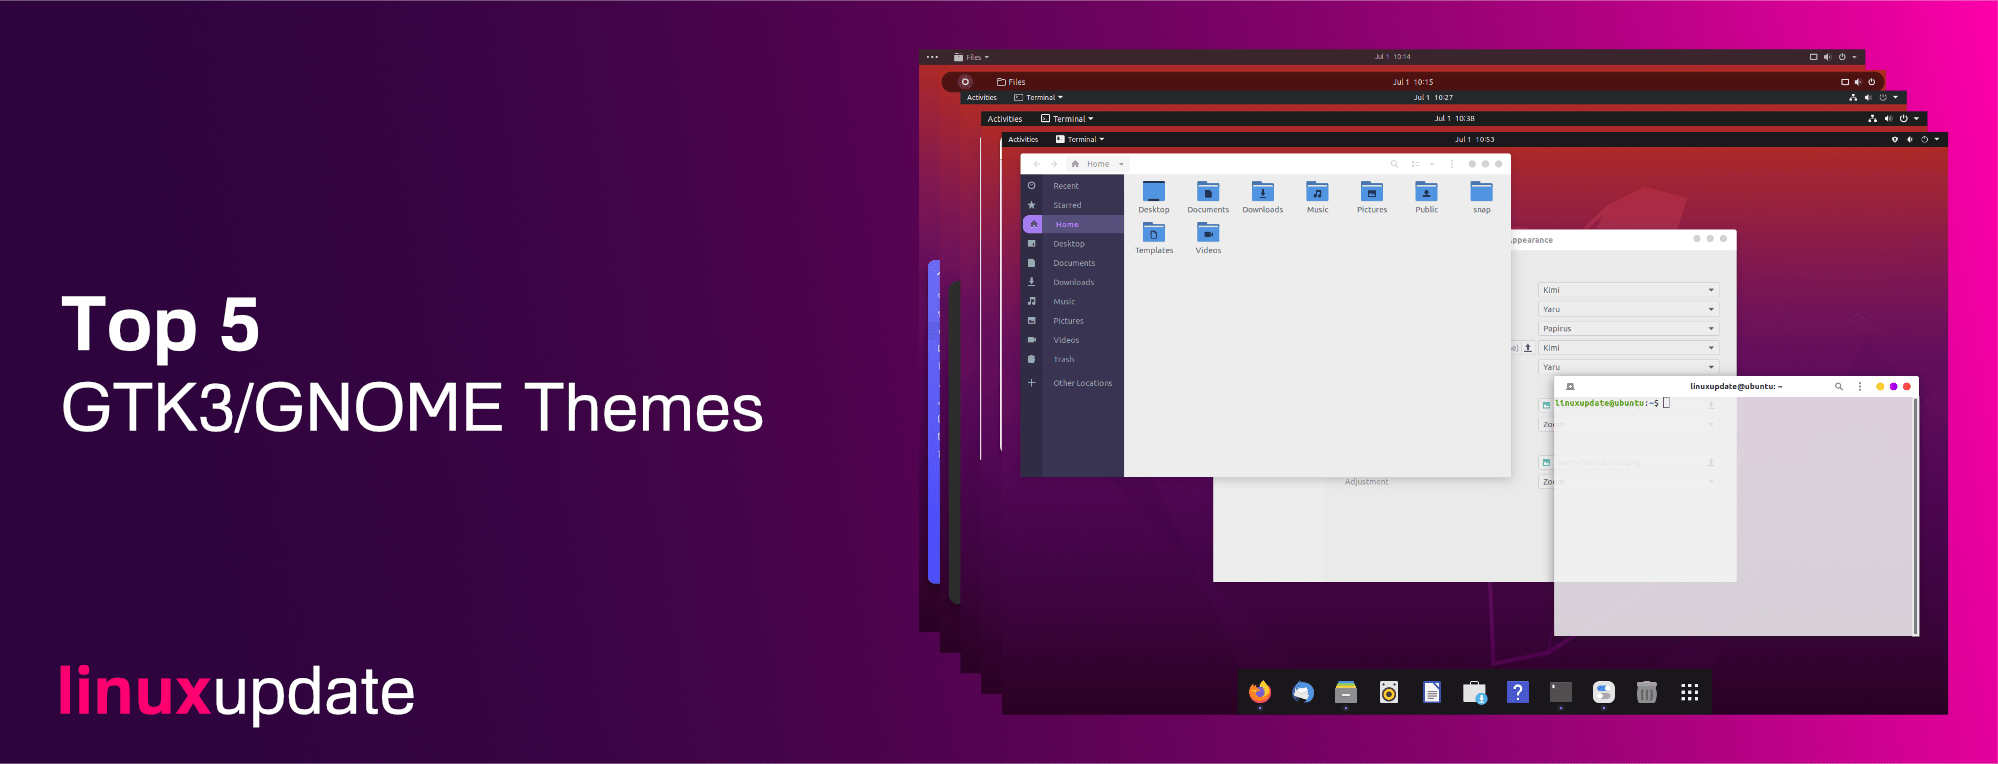
One of the best things about using a popular desktop environment like GNOME is that there are thousands of different themes available, each of them doing things in their own unique way. Here is a list of our top 5 this month, most of them have different colour options so you can pick lighter/darker modes and you can use any compatible icon pack!
5 – Kimi + Dash to Dock + Papirus (icons)
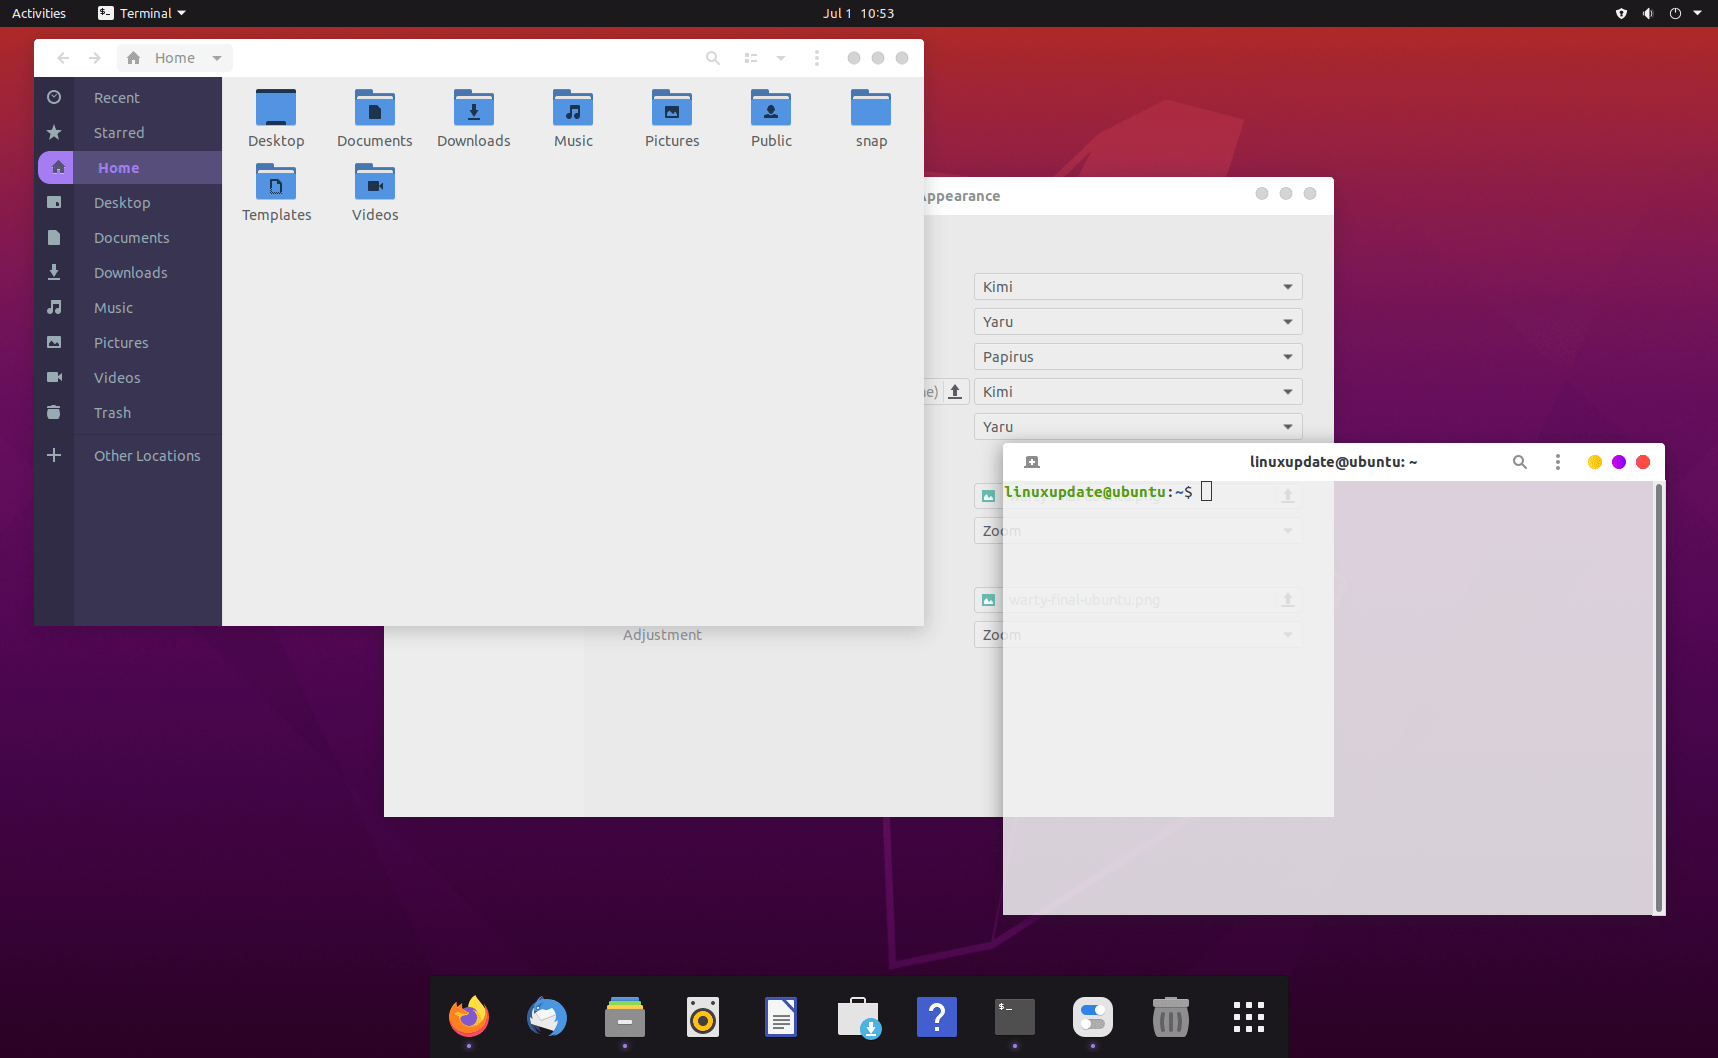
App – Dash to Dock: https://extensions.gnome.org/extension/307/dash-to-dock/
Theme – Kimi: https://www.pling.com/s/Gnome/p/1326889/
Icons – Papirus: https://github.com/PapirusDevelopmentTeam/papirus-icon-theme
4 – Ant+ Dash to Dock + Inverse (icons)
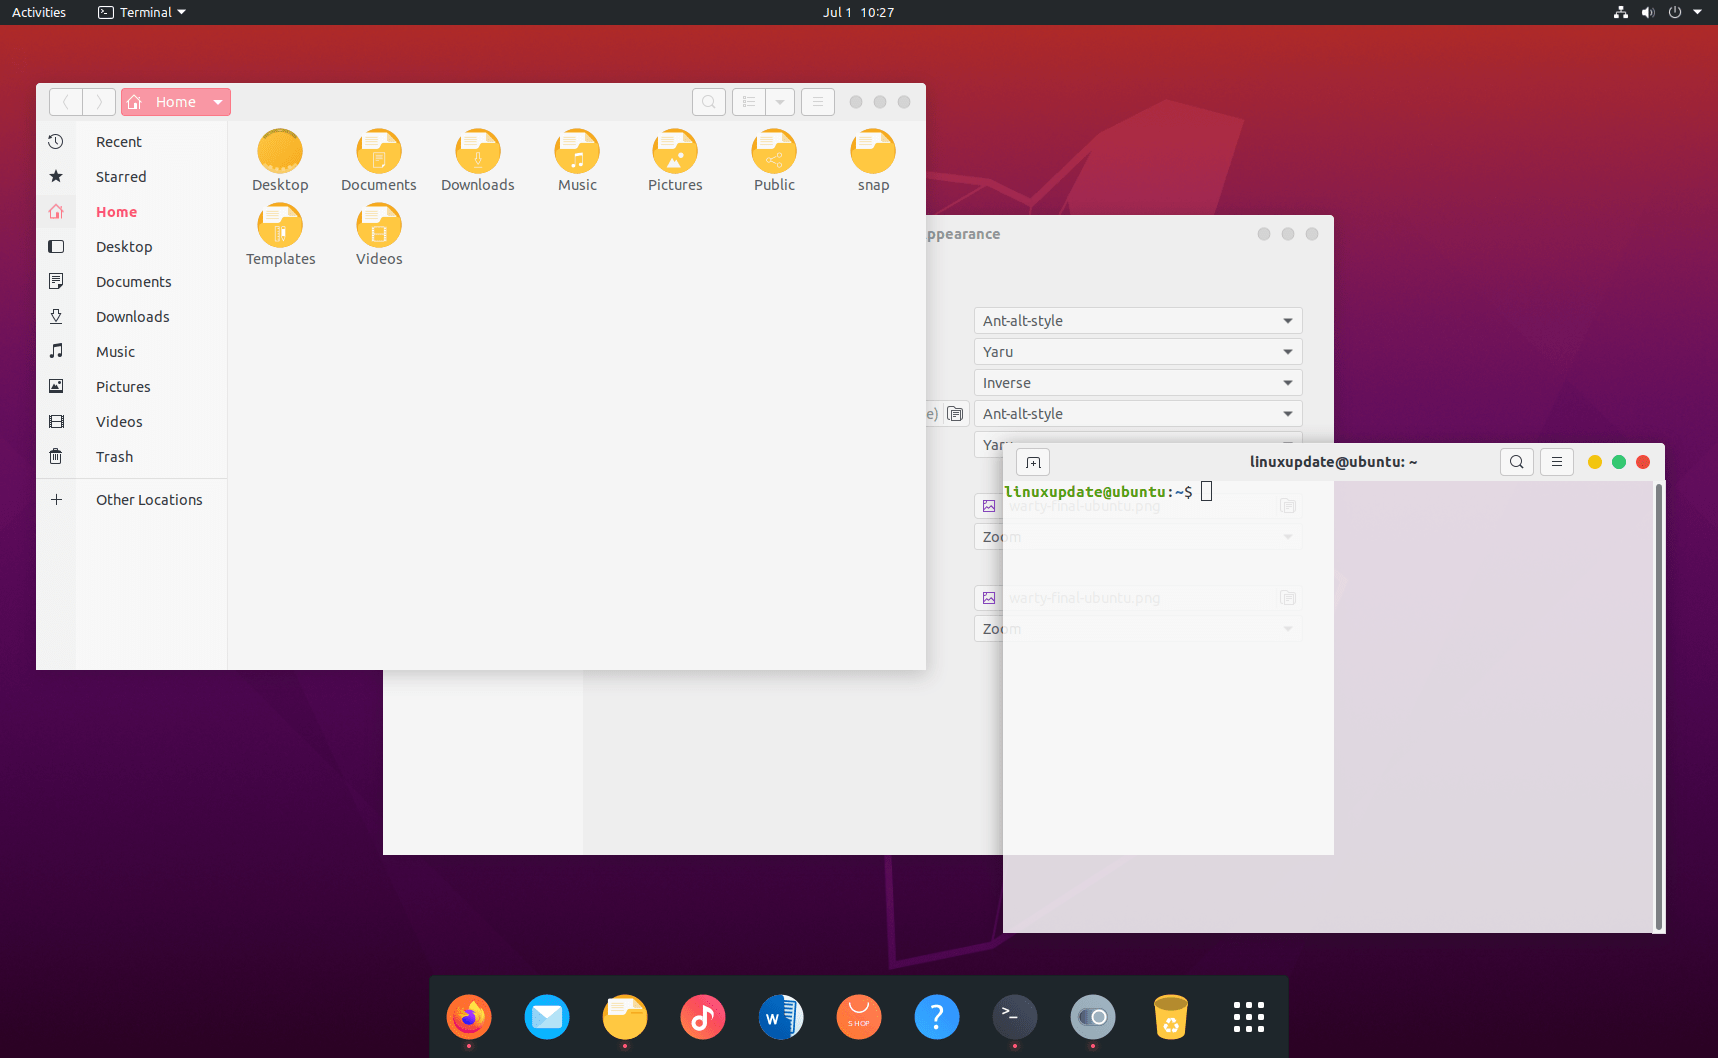
App – Dash to Dock: https://extensions.gnome.org/extension/307/dash-to-dock/
Theme – Ant (ant-alt-style): https://www.pling.com/s/Gnome/p/1099856/
Icons – Inverse: https://www.pling.com/p/1344791
3 – BaZik+ Dash to Dock + Inverse (icons)

App – Dash to Dock: https://extensions.gnome.org/extension/307/dash-to-dock/
Theme – BaZik (Bazik_Light_Magenta): https://www.pling.com/s/Gnome/p/1304241/
Icons – Breeze: https://www.pling.com/s/Gnome/p/1390301
2 – Layan Light + Dash to Dock + Tela (icons)
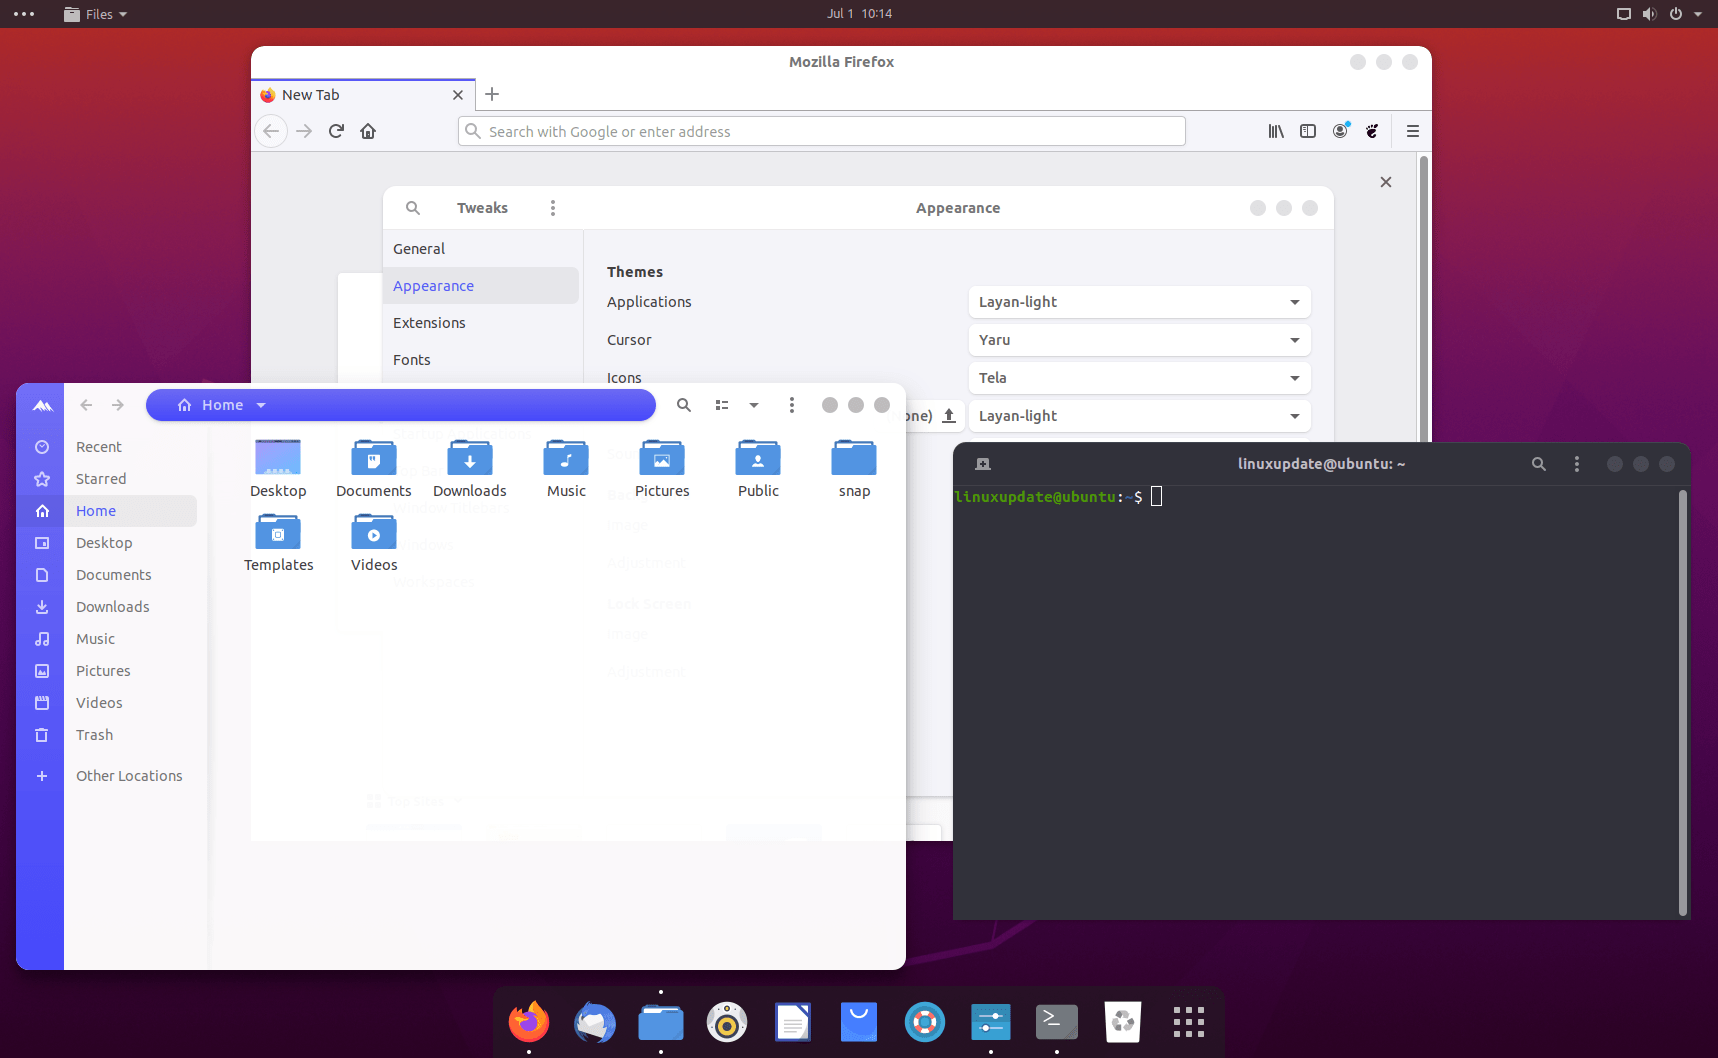
App – Dash to Dock: https://extensions.gnome.org/extension/307/dash-to-dock/
Theme – Layan Light: https://www.pling.com/p/1309214/
Icons – Tela: https://www.pling.com/p/1279924/
1 – Orchis + Dash to Dock
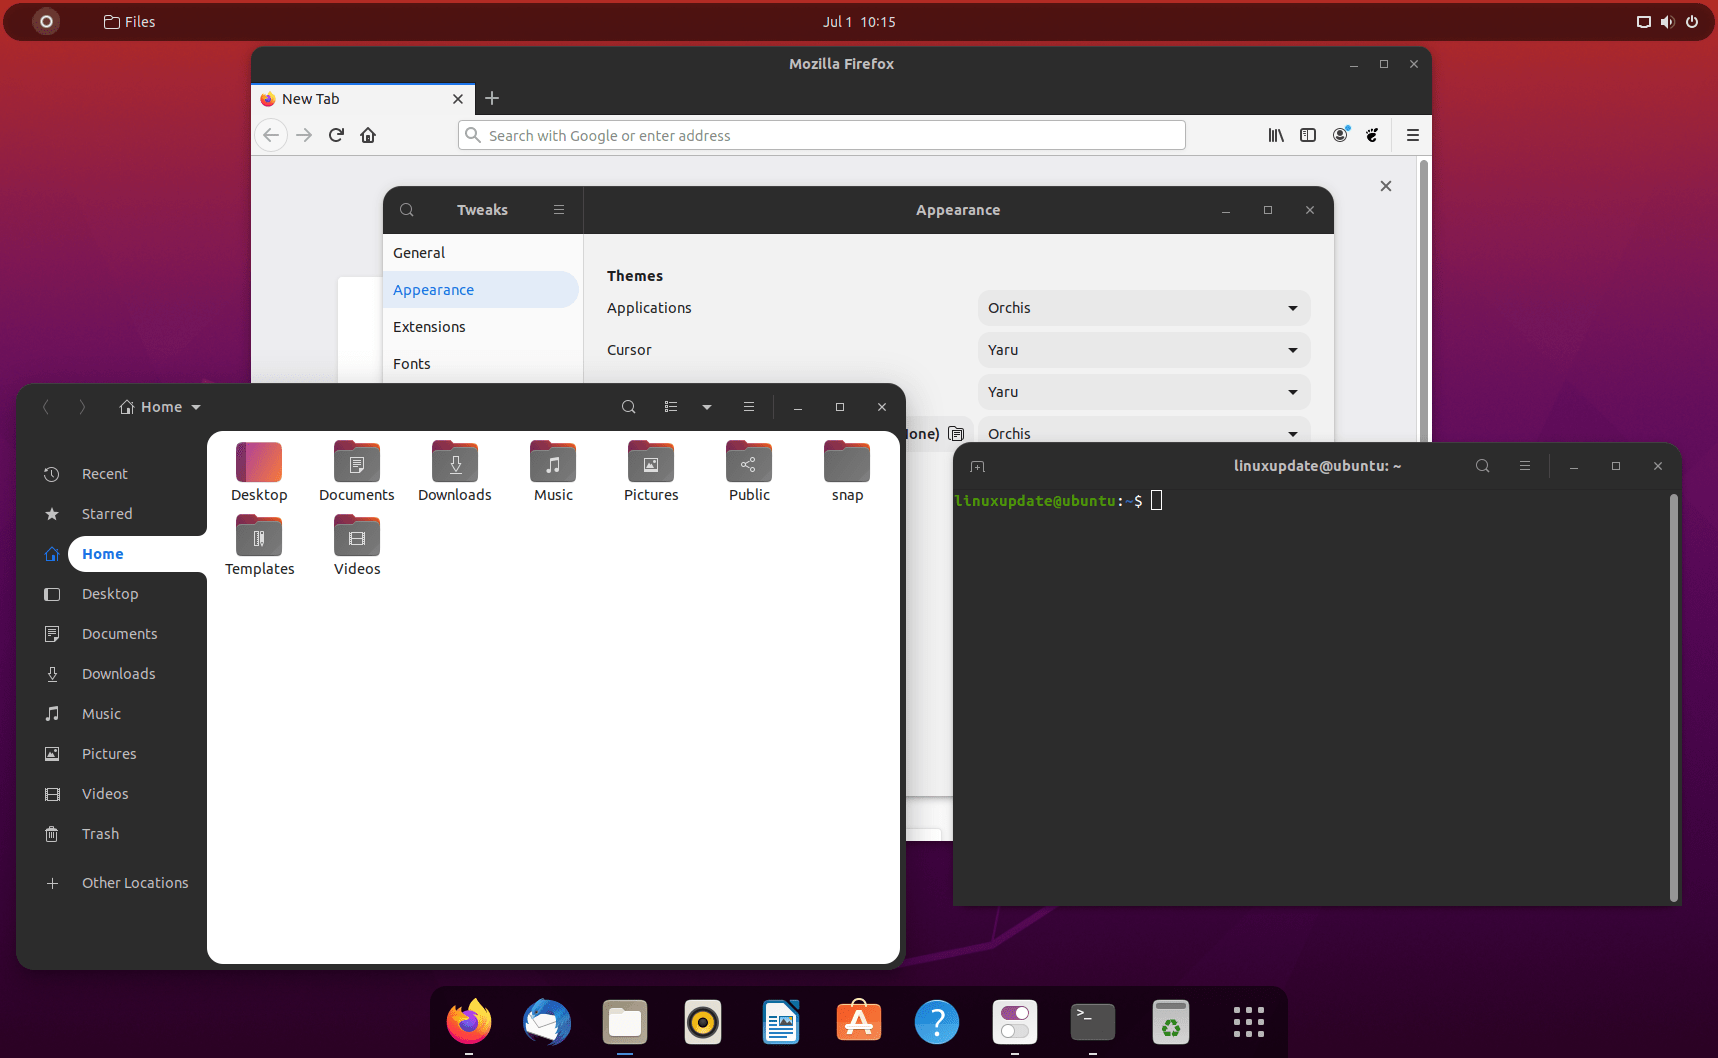
App – Dash to Dock: https://extensions.gnome.org/extension/307/dash-to-dock/
Theme – Orchis: https://www.pling.com/p/1309214/
Icons – Yaru (default Ubuntu)