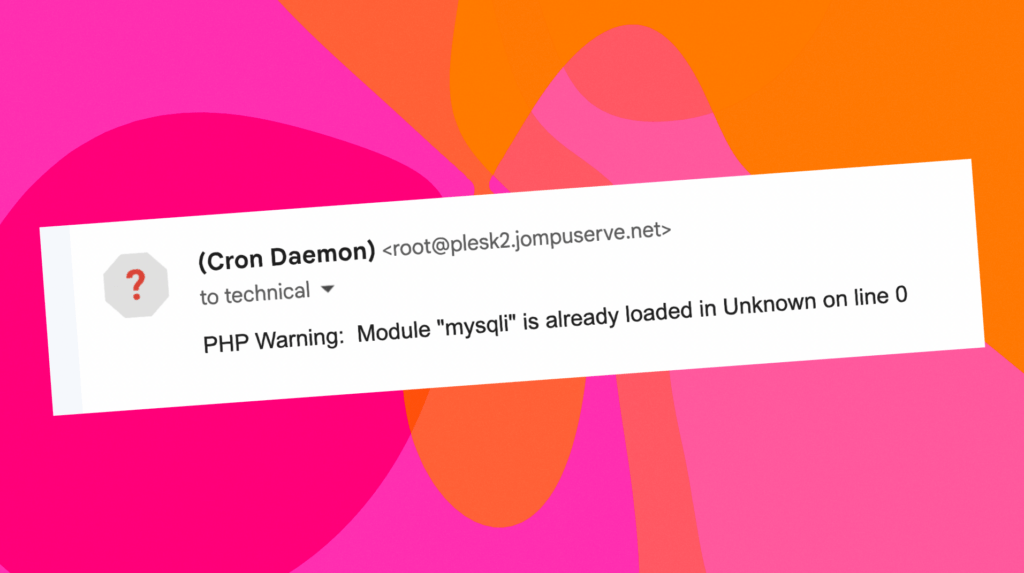
PHP Warning: Module “mysqli” is already loaded in Unknown on line 0
I recently encountered this error on a new server, and it turned out it was a result of a mismatch between the PHP version selected within Plesk and the PHP version in the CloudLinux PHP Selector. To resolve this, ensure that the correct PHP version is selected under both by heading to the PHP: And […]
PHP Warning: Module “mysqli” is already loaded in Unknown on line 0 Read More »